
DIY All-Natural Soap Making: Your Guide to Bliss

Making your own soap can be a rewarding and enjoyable experience. Not only do you get to customize scents and ingredients, but you also have the satisfaction of creating something from scratch. In this guide, we will explore the art of all-natural soap making, providing you with everything you need to know to get started on your journey to blissful soap creation.
Understanding the Basics of Soap Making
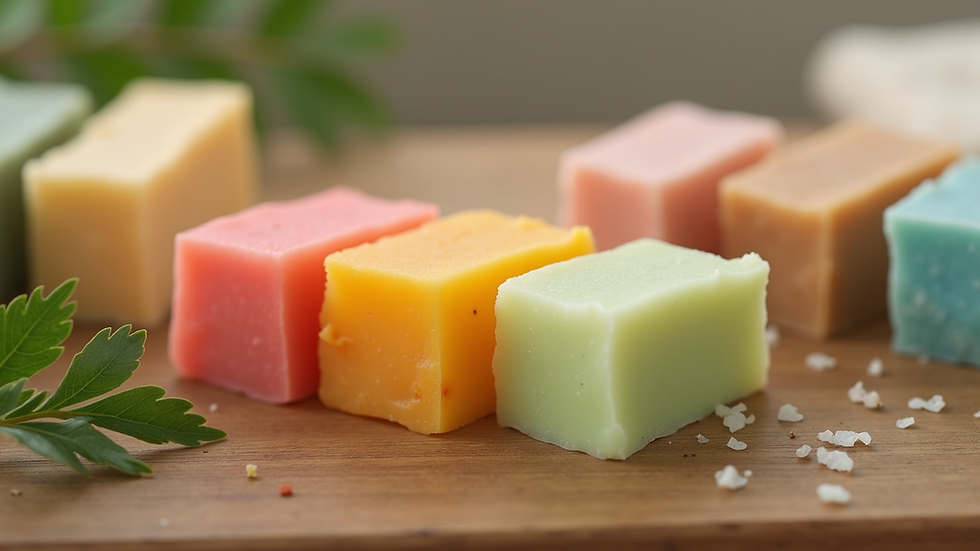
Before diving into the actual process, it's essential to understand the fundamentals of soap making. Soap is created through a chemical reaction called saponification, which occurs when fats or oils react with an alkali, typically sodium hydroxide (lye). This reaction transforms the oils into soap and glycerin.
Types of Soap Making
There are several methods for making soap, each with its own unique benefits:
Cold Process: This method involves mixing oils and lye at room temperature. It requires careful handling of lye and takes about 4-6 weeks for the soap to cure.
Hot Process: Similar to cold process, but the soap is heated during the mixing process. This method speeds up the saponification and allows for immediate use after cooling.
Melt and Pour: This beginner-friendly method involves melting pre-made soap bases and adding your desired ingredients. It’s perfect for those who want to skip the lye handling.
Rebatching: This technique involves grating existing soap and melting it down to add new ingredients or scents.
Choosing Your Ingredients
When making all-natural soap, the choice of ingredients is crucial. Here are some key components to consider:
Oils: Common oils used in soap making include olive oil, coconut oil, palm oil, and shea butter. Each oil contributes different properties to the soap, such as lather, hardness, and moisturizing qualities.
Lye: Sodium hydroxide is necessary for the saponification process. Always handle lye with care, using gloves and goggles.
Additives: Natural colorants (like clays or herbs), essential oils for fragrance, and exfoliants (like oatmeal or coffee grounds) can enhance your soap's appearance and benefits.
Essential Equipment for Soap Making
To get started, you will need some basic equipment:
Scale: For accurate measurements of oils and lye.
Mixing Bowls: Glass or stainless steel bowls are ideal for mixing ingredients.
Stick Blender: This helps to blend the oils and lye quickly and efficiently.
Soap Molds: Silicone molds are easy to use and release the soap easily.
Thermometer: To monitor the temperature of your oils and lye.
Safety Gear: Gloves and goggles are essential for protecting yourself when handling lye.
Step-by-Step Guide to Making All-Natural Soap
Now that you have a grasp of the basics and the necessary equipment, let’s walk through the process of making your own all-natural soap.
Step 1: Prepare Your Workspace
Ensure your workspace is clean and organized. Lay out all your ingredients and equipment. It’s also a good idea to have a bottle of vinegar nearby, as it can neutralize lye spills.
Step 2: Measure Your Ingredients
Using a scale, measure out your oils and lye. For a basic recipe, you might use:
16 oz olive oil
16 oz coconut oil
16 oz palm oil
6.5 oz lye
16 oz distilled water
Step 3: Mix the Lye Solution
Carefully add the lye to the distilled water (never the other way around) in a well-ventilated area. Stir until dissolved, and let it cool to around 100-110°F.
Step 4: Heat the Oils
In a separate pot, heat your oils until they reach a similar temperature to the lye solution. This helps to ensure a smooth mixing process.
Step 5: Combine Lye and Oils
Once both the lye solution and oils are at the right temperature, slowly pour the lye into the oils while blending with a stick blender. Blend until you reach "trace," which is when the mixture thickens and leaves a trail on the surface.
Step 6: Add Fragrance and Color
At this stage, you can add essential oils for fragrance and any colorants or additives you desire. Mix thoroughly to ensure even distribution.
Step 7: Pour into Molds
Carefully pour the soap mixture into your molds. Tap the molds gently to remove any air bubbles.
Step 8: Insulate and Cure
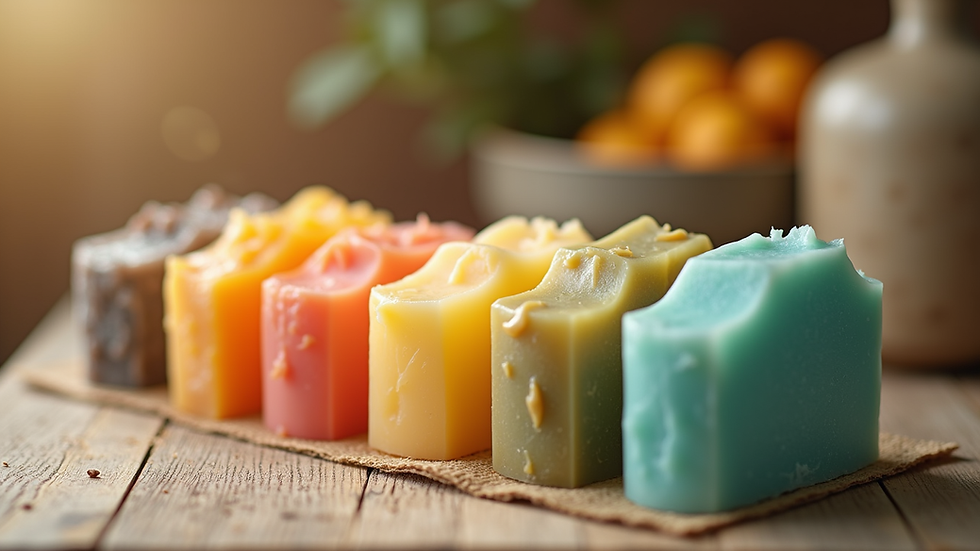
Cover the molds with a towel to insulate them, allowing the soap to saponify. After 24-48 hours, you can unmold the soap and cut it into bars. Let the bars cure for 4-6 weeks before using.
Tips for Successful Soap Making
Keep Notes: Document your recipes and any changes you make for future reference.
Experiment: Don’t be afraid to try different oils, scents, and additives to find your perfect blend.
Patience is Key: Allowing your soap to cure properly will enhance its quality and longevity.
Troubleshooting Common Issues
Even experienced soap makers encounter challenges. Here are some common issues and how to resolve them:
Soap is Too Soft: This could be due to too much water or not enough hard oils. Adjust your recipe accordingly.
Lye Crystals Remain: Ensure you mix the lye thoroughly with water until fully dissolved.
Unpleasant Odor: This can happen if the oils are rancid. Always use fresh oils.
Benefits of All-Natural Soap
Making your own soap has numerous benefits:
Customization: Tailor your soap to your preferences, from scents to skin benefits.
Natural Ingredients: Avoid synthetic chemicals and preservatives found in commercial soaps.
Cost-Effective: While there is an initial investment, making soap can save you money in the long run.
Conclusion
Creating your own all-natural soap is not just a craft; it’s a way to connect with nature and embrace a healthier lifestyle. With the right ingredients and a little practice, you can produce beautiful, fragrant bars of soap that are both functional and luxurious. So gather your supplies, follow the steps outlined in this guide, and embark on your soap-making journey today. Happy crafting!
Comments